
So, you’ve edited your podcast or long-form video - next up, it’s time to get more out of that content by creating short-form clips like Instagram Reels, YouTube Shorts, TikToks, or even LinkedIn posts. These are a great way to promote the full episode and keep your content working harder for you.
Head to the DaVinci Resolve dashboard.
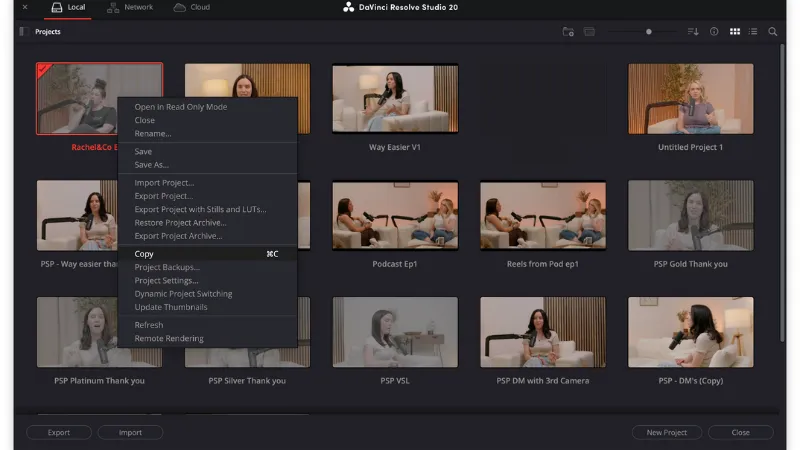
Right-click on your finished video and choose Copy, then Paste it back into your dashboard.
Rename the new file to something like:
Reels from Podcast Ep 1
By right clicking on the project and selecting Rename
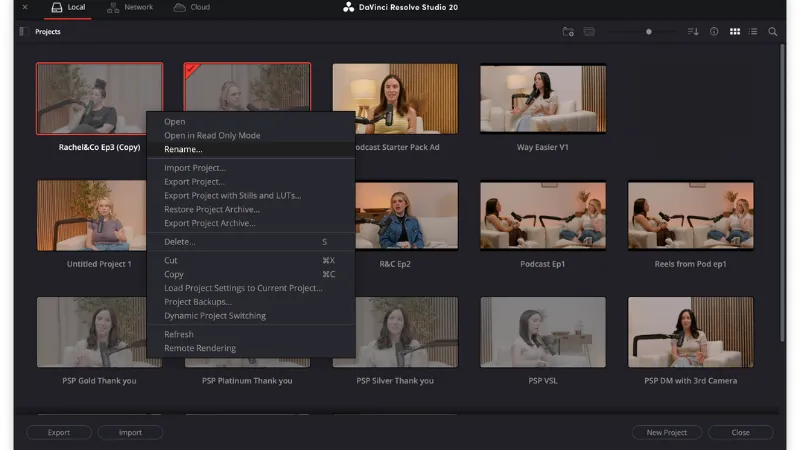
This way, you can make changes without affecting the original edit.
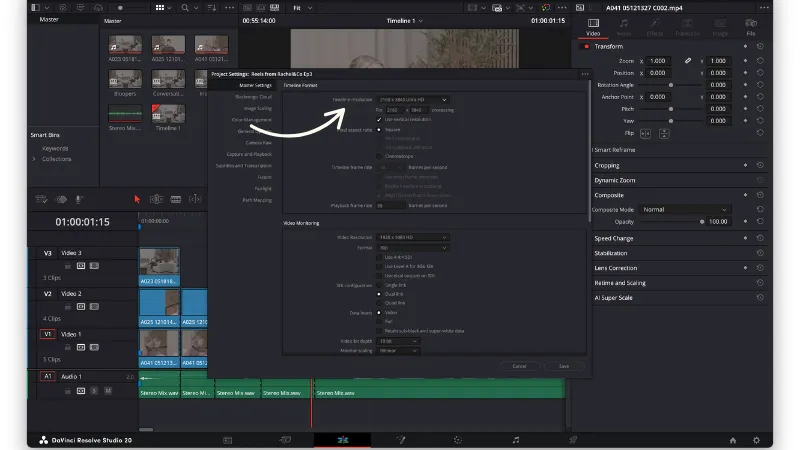
Use the settings icon in the bottom right corner of your project and edit the timeline resolution.
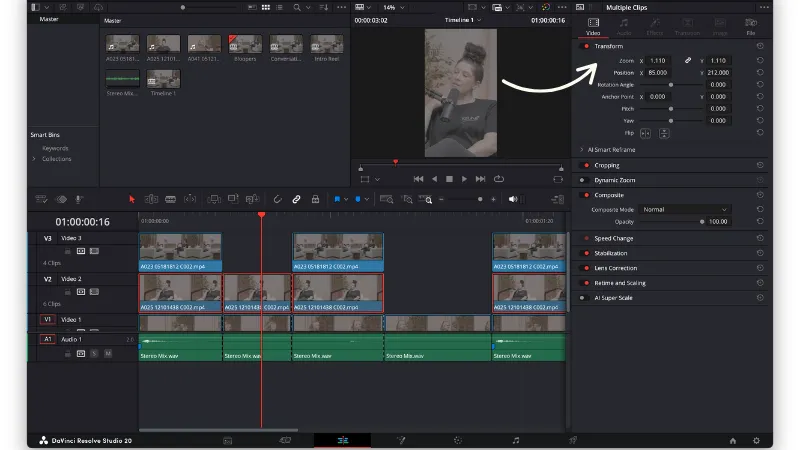
Now you’ll need to ensure your videos are placed at a suitable position within the frame. To do this:
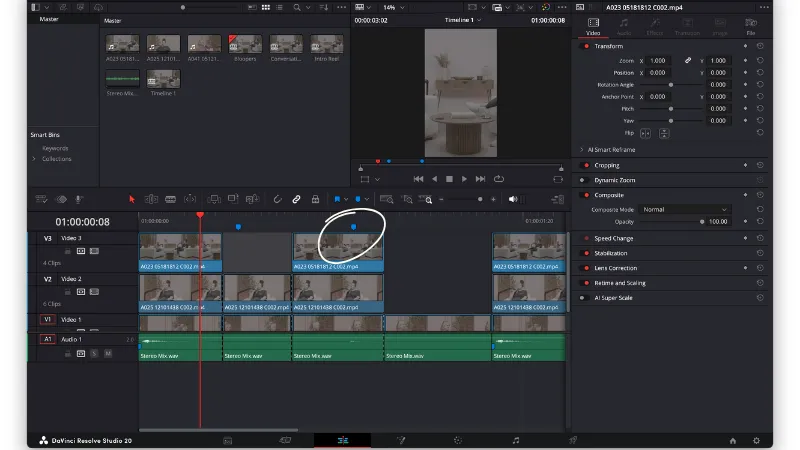
Play through your edited timeline and use markers to point out moments that could me turned into Reels.
When you reach a moment that could work well as a Reel:
💡 Tip: Double-click on markers to rename or recolour them.
I like to use different colours for each clip - for example, pink for Reel 1, blue for Reel 2 - to keep things clear.
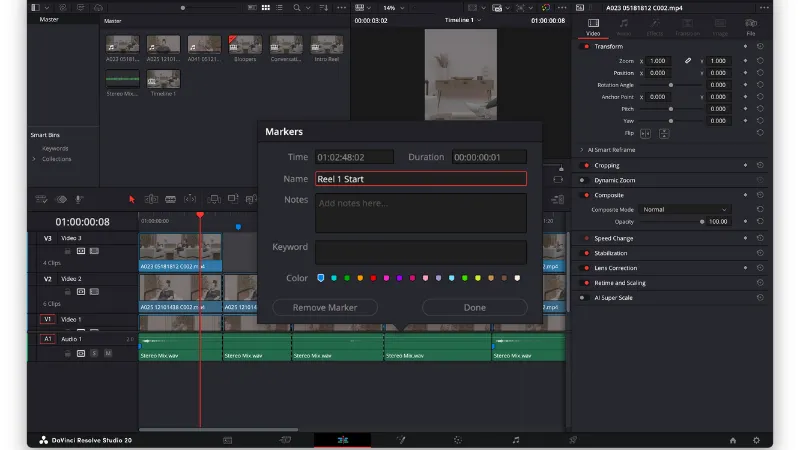
While it’s a good rule of thumb to aim for the final reel to be around 60 seconds, you may choose to take a longer section of the podcast and trim it down to have the start, end, and key moments in between.
Continue working through our video, marking out any parts that you’d like to turn into short form content. Your timeline should start to look something like this, with colour coded (should you wish) sections marked throughout.
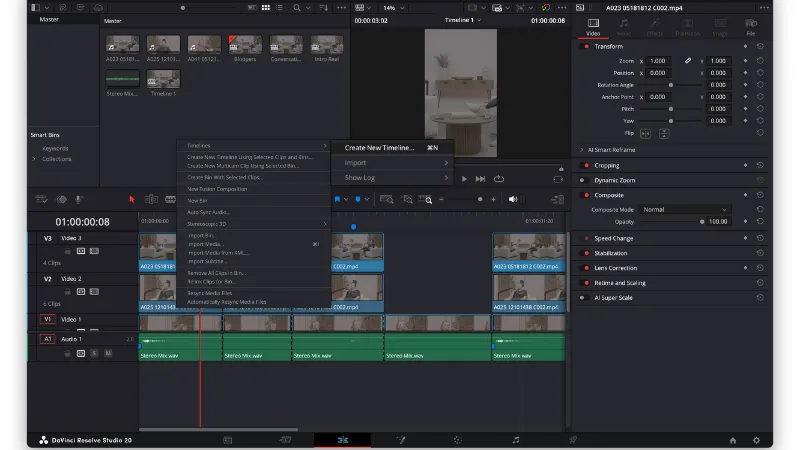
Once you have marked out the parts you would like to turn into short from content, you’re going to create a new timeline for each reel. Do this by:
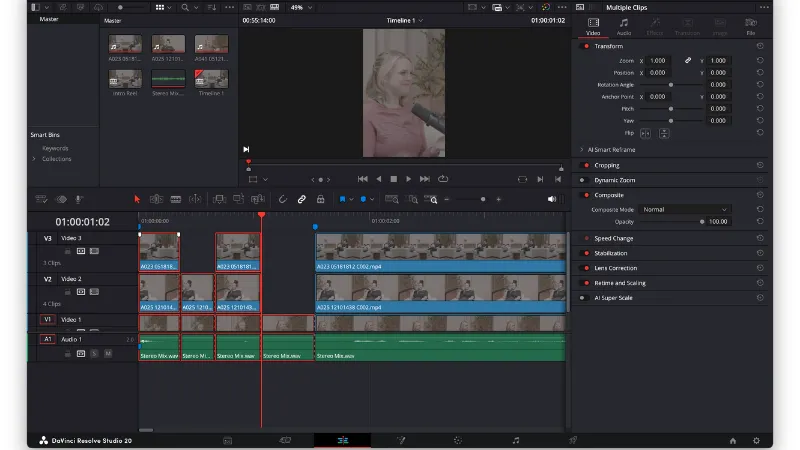
Since you’re working on a duplicate file, you can freely cut or adjust clips to make each reel snappier and more impactful.
If you have used a wide angle shot, it is now that you can adjust this, per clip, for an alternate angle for whoever is speaking.
Repeat these steps for all marked areas to create a bank of reels from your podcast, adding each one to a new timeline each time.
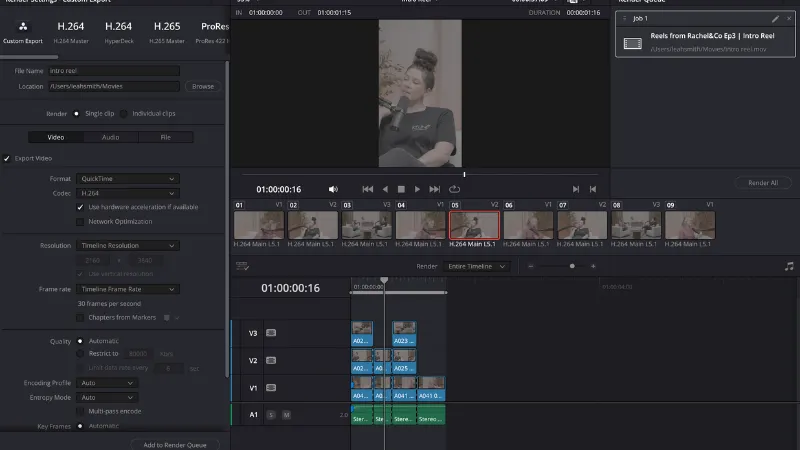
In each timeline, head to the Deliver tab (the little rocket icon 🚀).
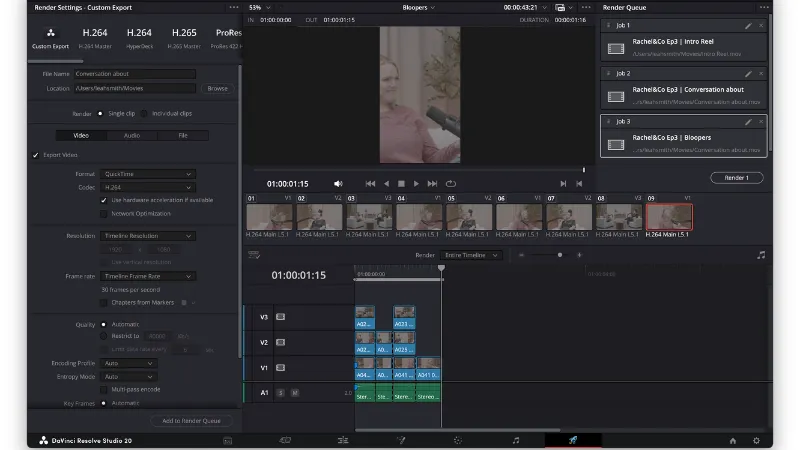
Before adding to the render queue, rename it in the render settings so it’s easy to identify later.
Click Add to Render Queue. Your selected clip will appear in the top-right render panel.
📁 Before you start rendering, create a folder on your computer called something like:
Reels from Pod Ep 1
Once you’ve added all your reels to the render queue and chosen your destination folder, hit Render All - and that’s it!
Your short-form content is ready to upload!

